Welcome
This guide provides step-by-step instructions to install, integrate, configure, and get the most out of the module. Whether you're just starting or optimizing your setup, you're in the right place.
This guide provides step-by-step instructions to install, integrate, configure, and get the most out of the module. Whether you're just starting or optimizing your setup, you're in the right place.
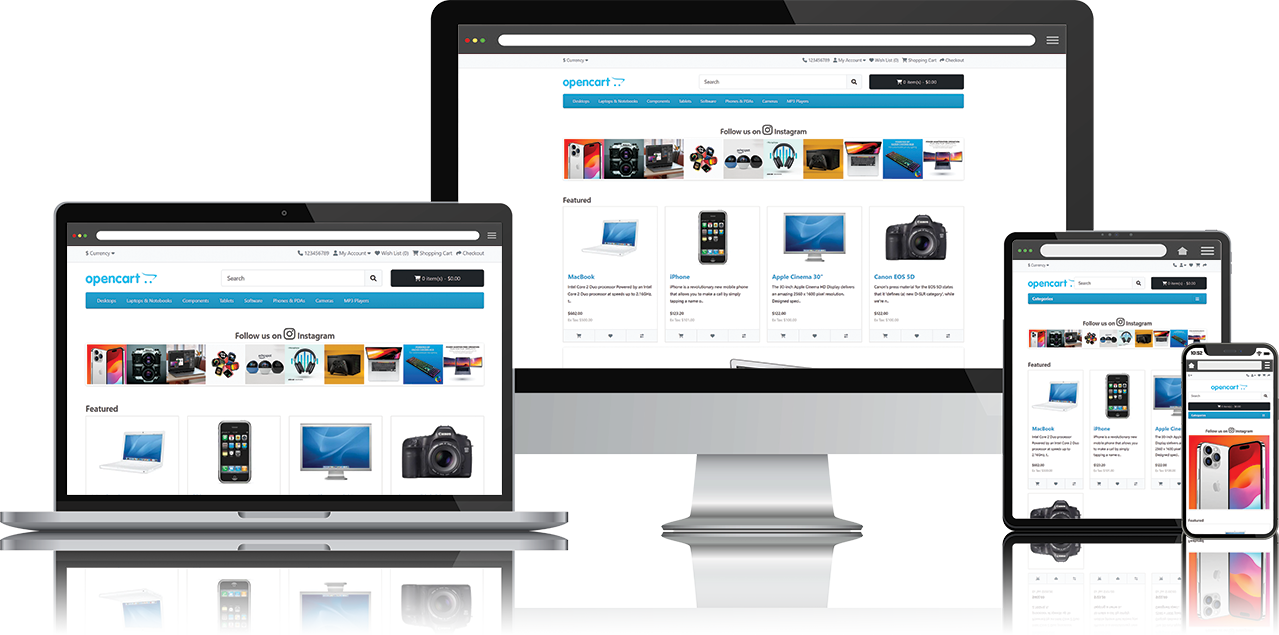
Enhance your e-commerce experience with dynamic image galleries, automatically powered by your Instagram posts. Customize content with visual effects and captions. Use hashtags to easily select which images will be part of each gallery. Create multiple galleries with unique layouts and settings, keeping your site always up to date automatically.
Visit the extension page and click Get Support for help and updates.

Go to Extensions > Extensions, select Modules, find Instagram Gallery and click Add New to create a new gallery, or find the desired gallery and click Edit to modify its settings.
| Parameter | Description |
|---|---|
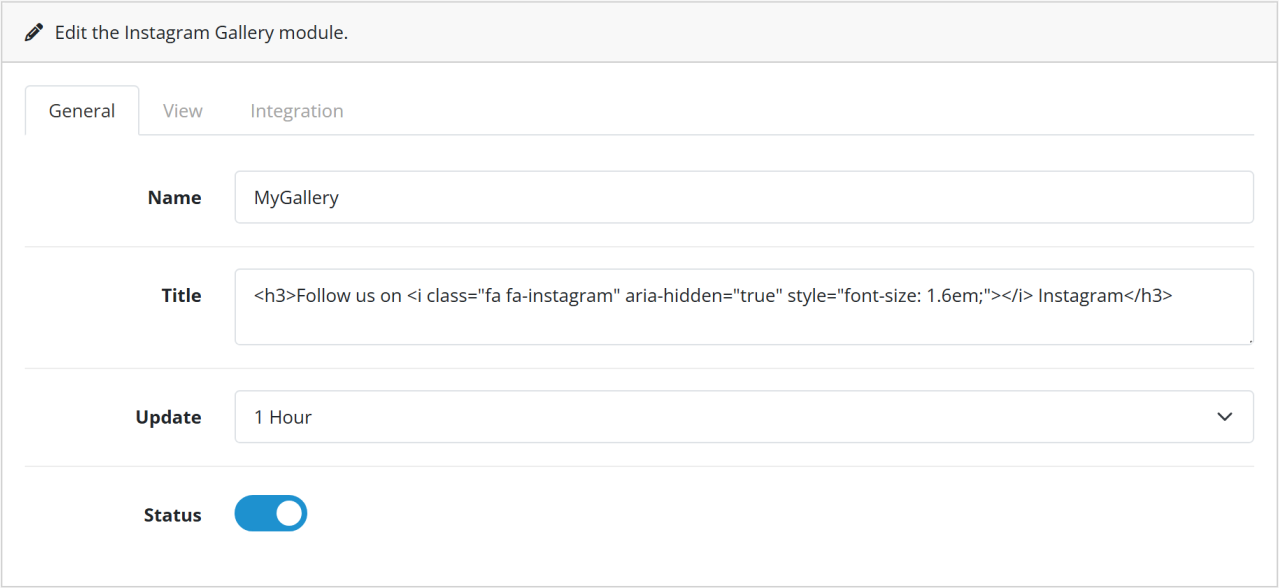
| Name | Gallery name displayed in the layout settings. |
| Title | Title displayed in gallery view. Supports HTML and CSS. |
| Update | Image update period. |
| Status | Enables the module. |
| Parameter | Description |
|---|---|
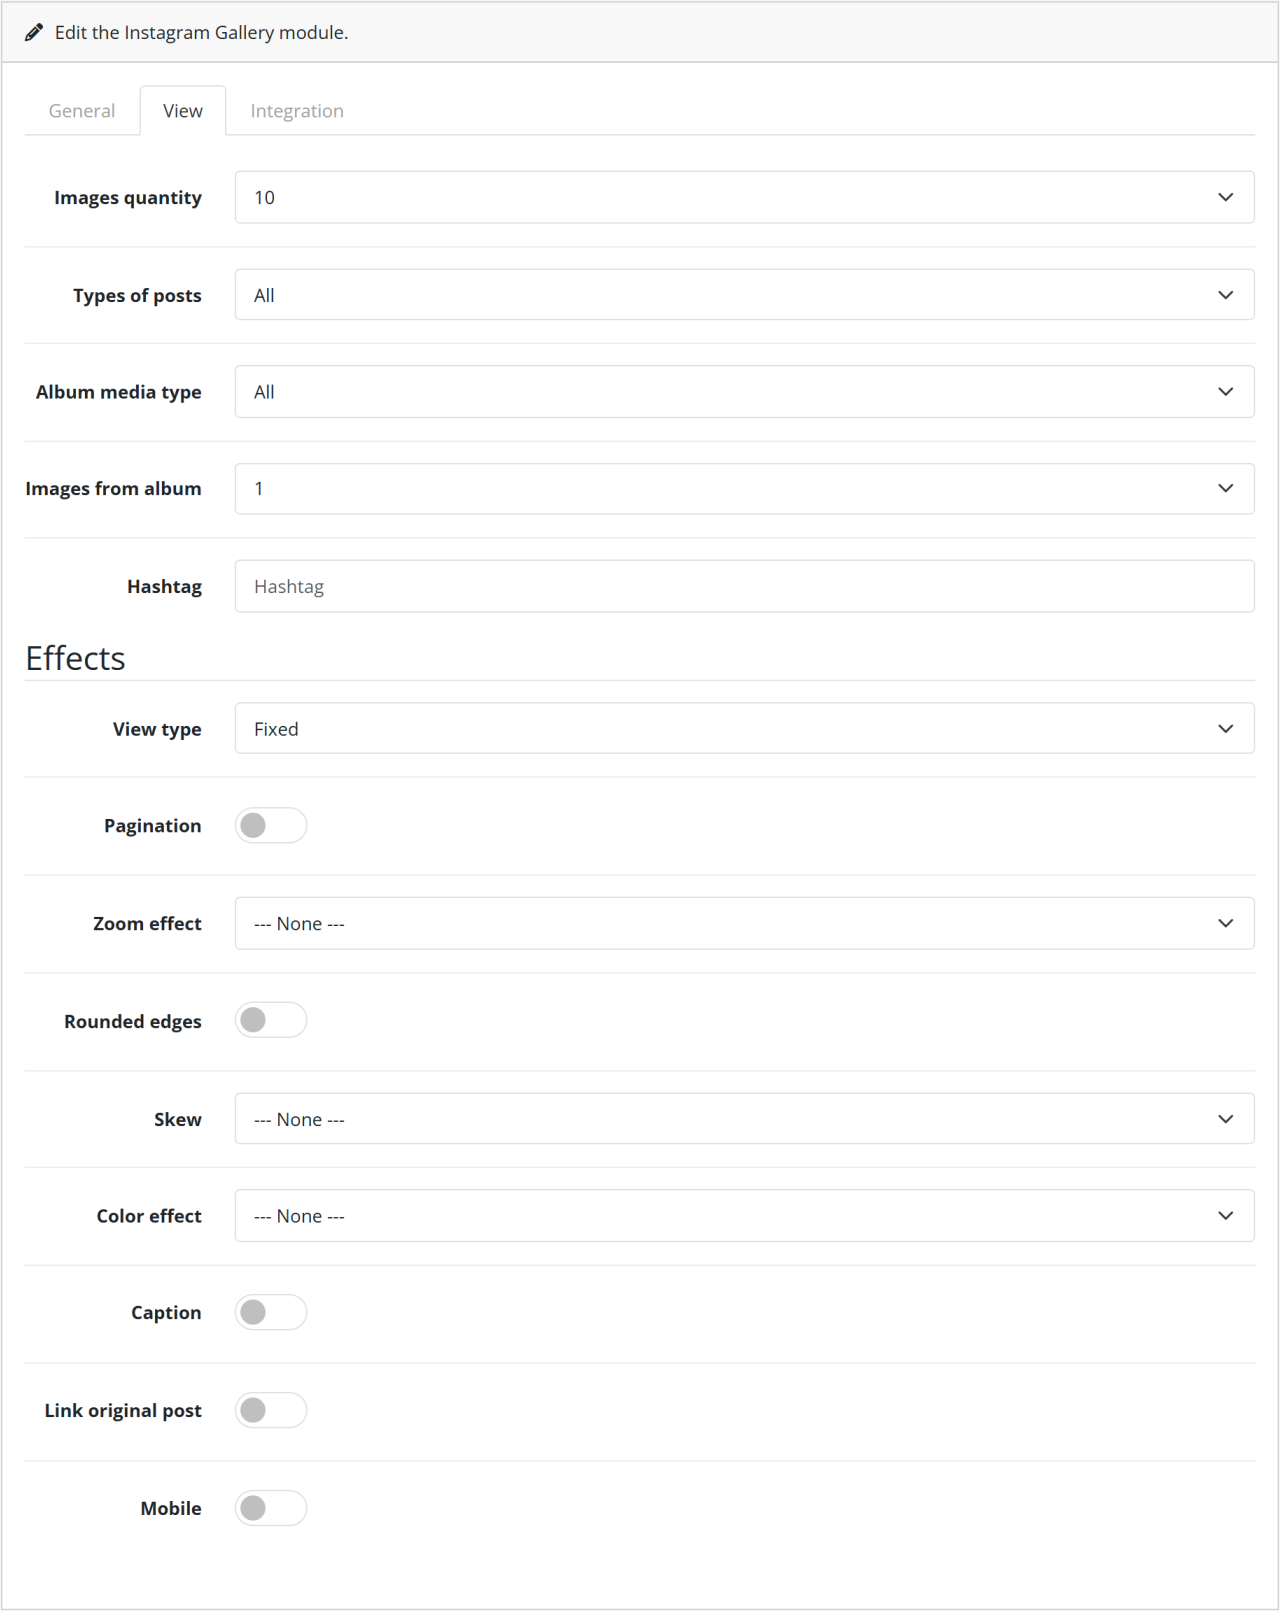
| Number of images | Total number of images in the gallery. |
| Post types | Types of posts that provide media. |
| Album media type | Types of media searched within albums. |
| Album images | Number of media retrieved from albums. |
| Hashtag | Filters posts by hashtag. Only media with the hashtag are processed. |
| View type | Gallery style. |
| Pagination | Displays pagination controls. |
| Zoom effect | Zoom effect when hovering over the image. |
| Rounded borders | Applies rounded corners to images. |
| Tilt effect | Applies tilt effect to images. |
| Color effect | Color transition when hovering over the image. |
| Caption | Displays part of the post caption. |
| Link to original post | Each image points to its post on Instagram. |
| Mobile devices | Enables gallery display on devices with small screens (less than 576px) |
| Parameter | Description |
|---|---|
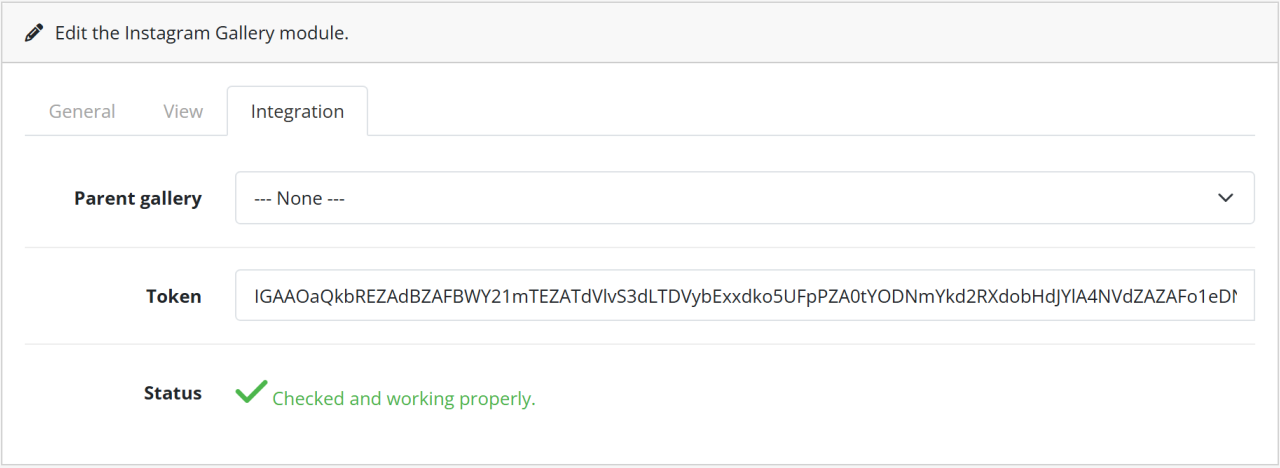
| Parent gallery | Select when creating a child gallery. |
| Token | Access token (used only for parent galleries). How do I get my access token? |
| Status | Indicates if the module is working correctly. |
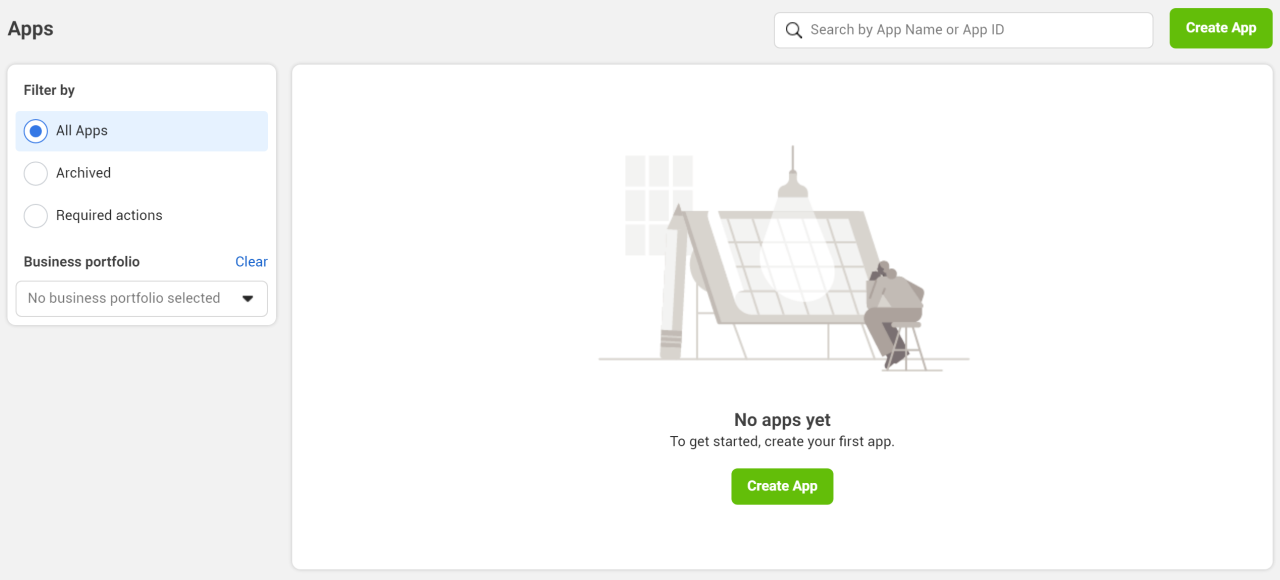
Go to your Facebook Developer Account and click My Apps.

Click Create App.
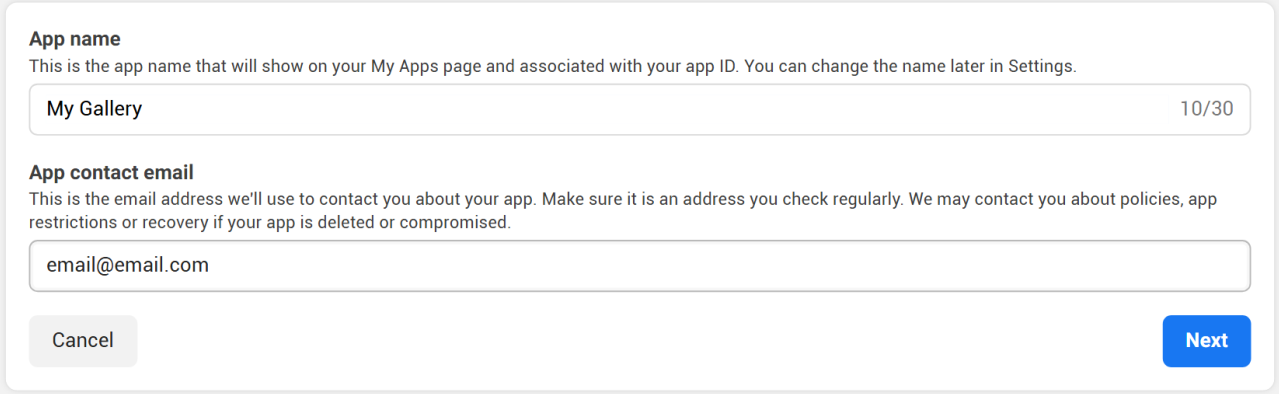
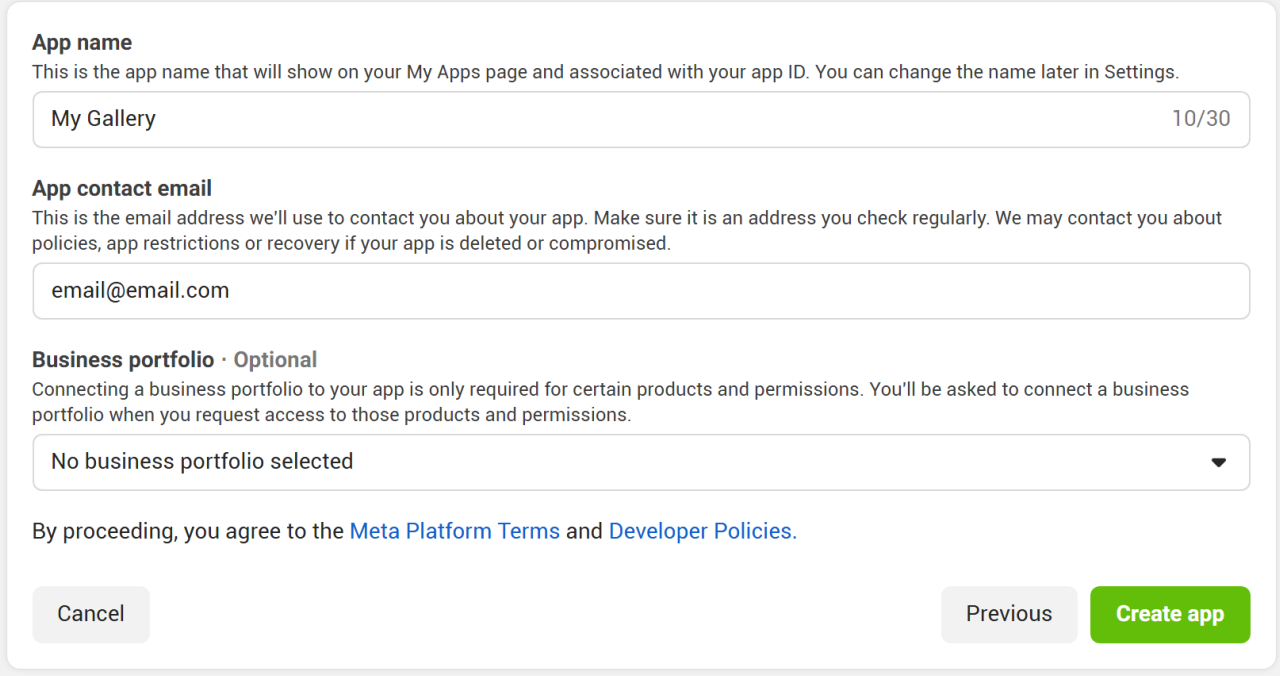
Enter the app name and click Next.
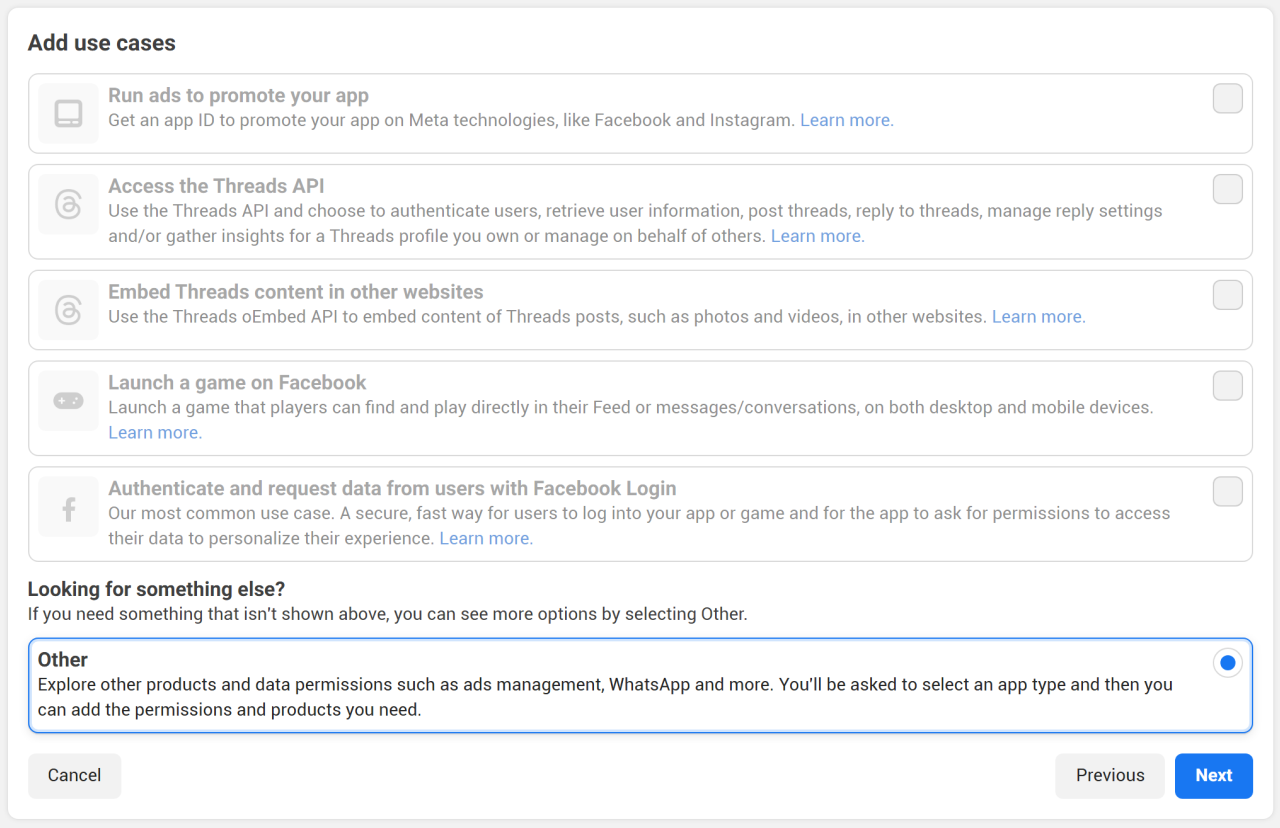
Select Other and click Next.
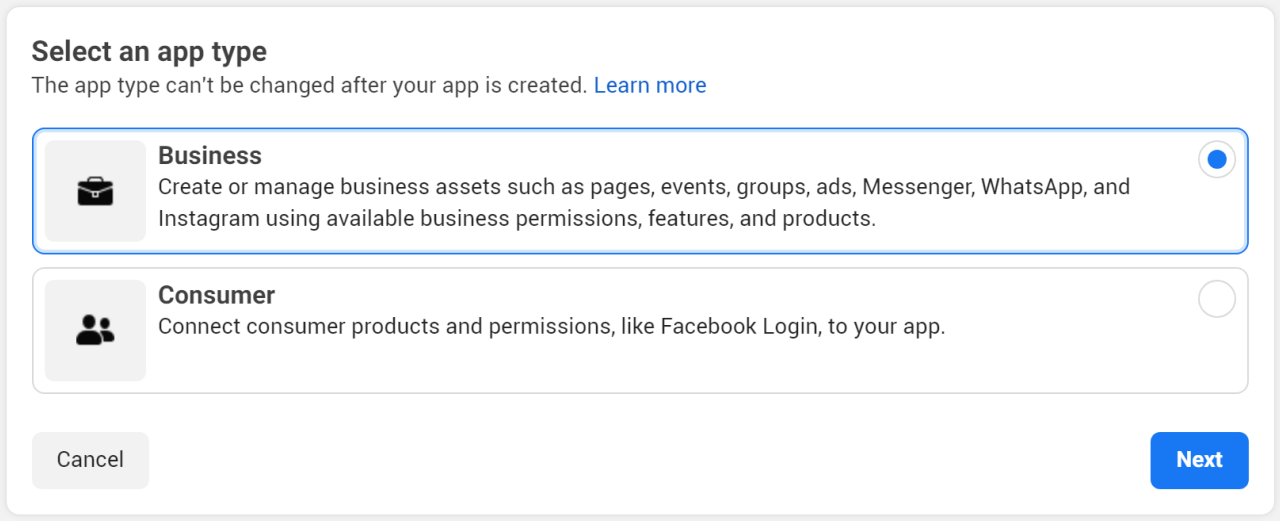
Check the Business option and click Next.
Review the information and click Create App.
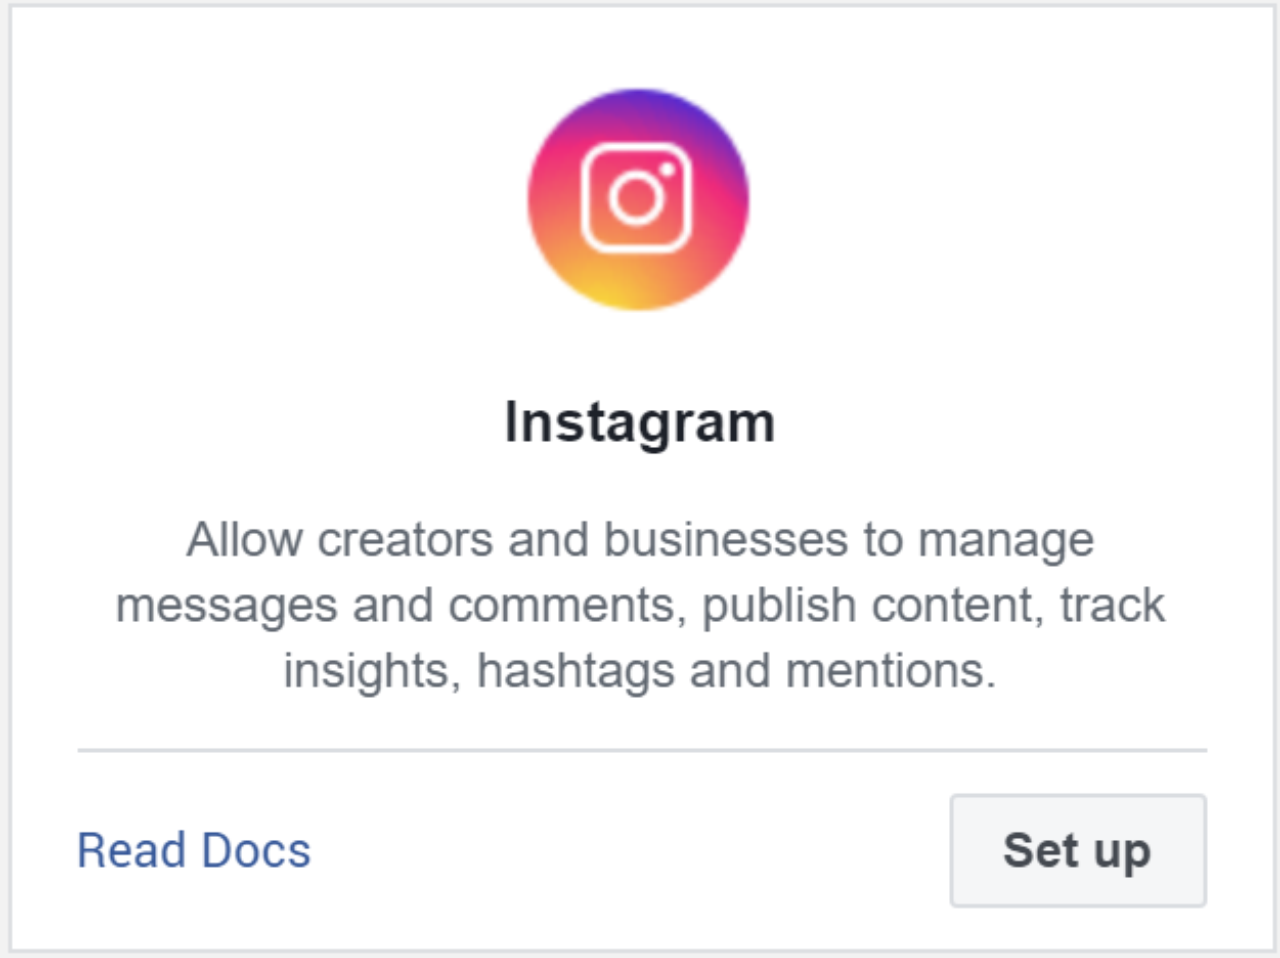
In the app dashboard, go to Add Product, search for Instagram and click Set Up.
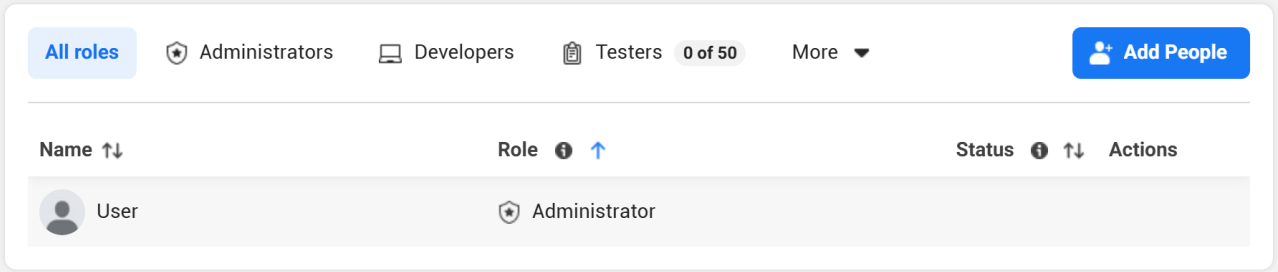
In the side menu, go to App Roles > Roles and click Add People.
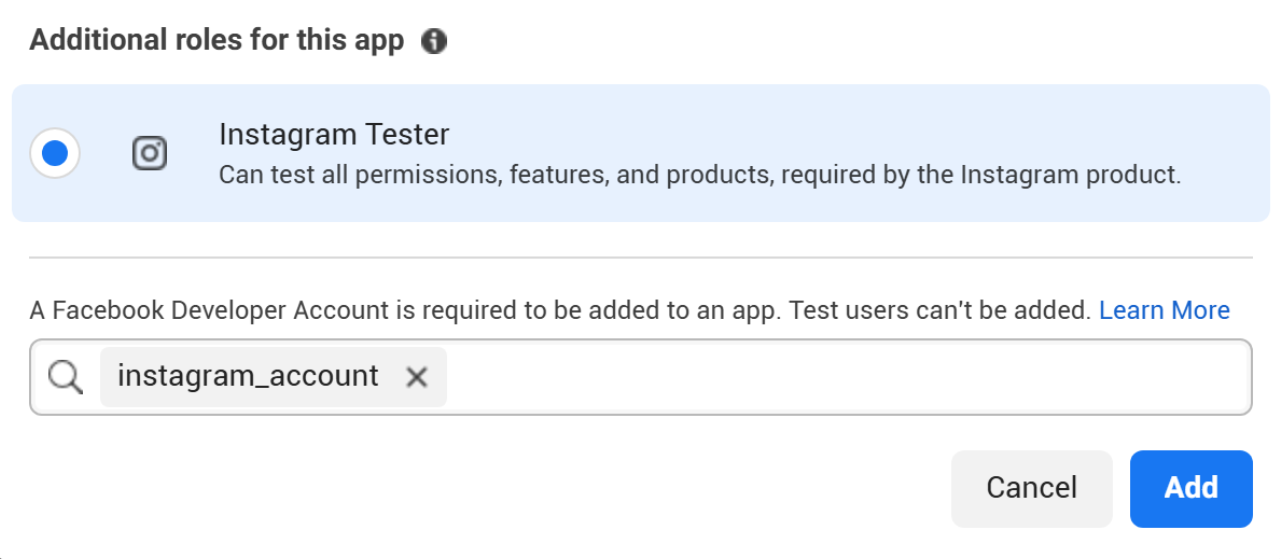
Check Instagram Tester, add the account that will provide the media and click Add.
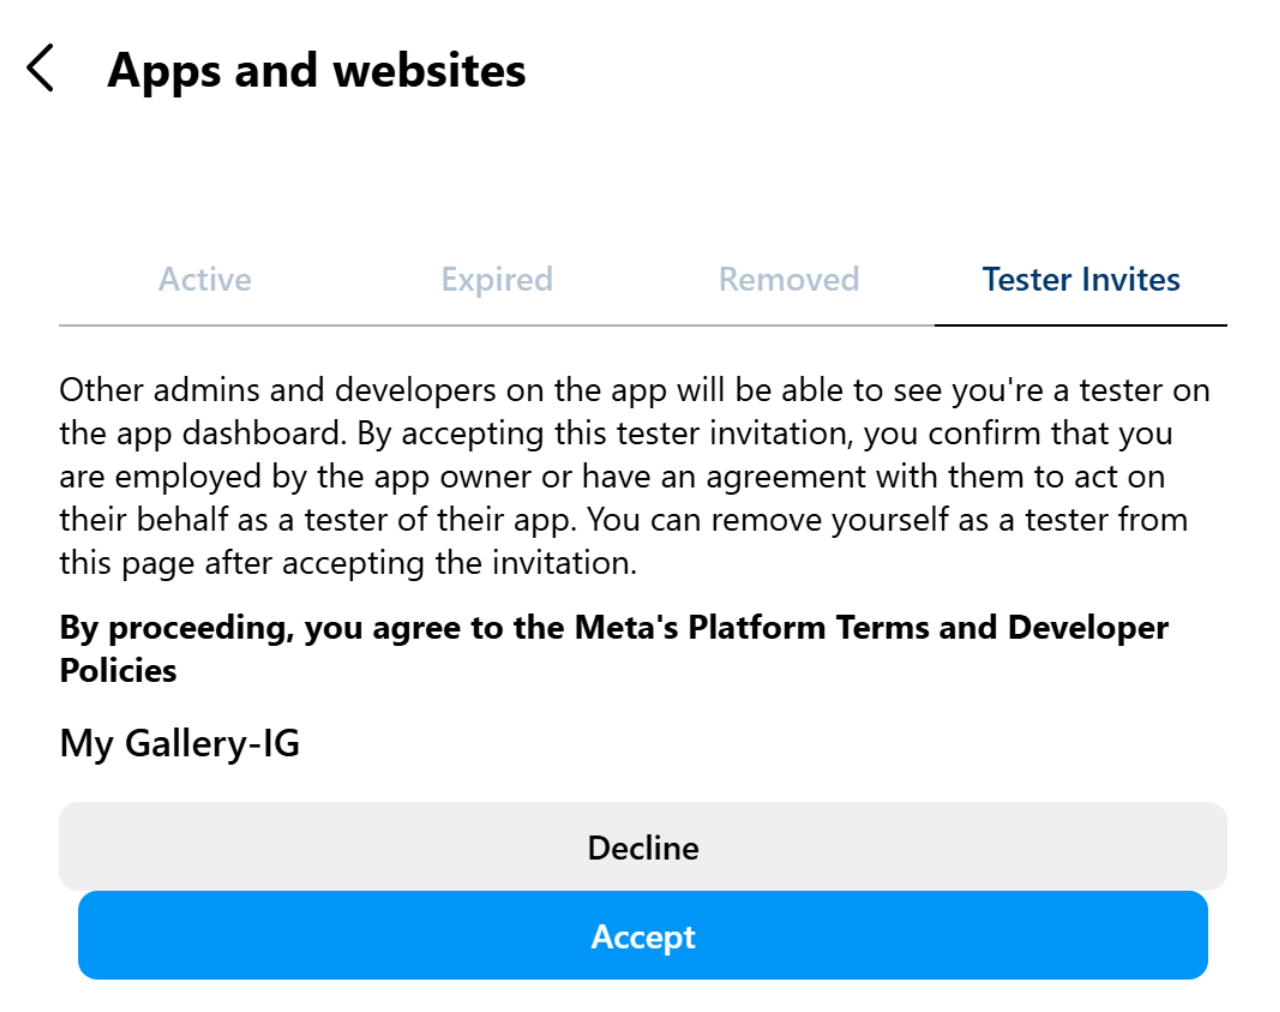
Log in to the Instagram account provided in the previous step, go to More > Settings > Website Permissions > Apps and Websites. In the Tester Invites tab, click Accept.
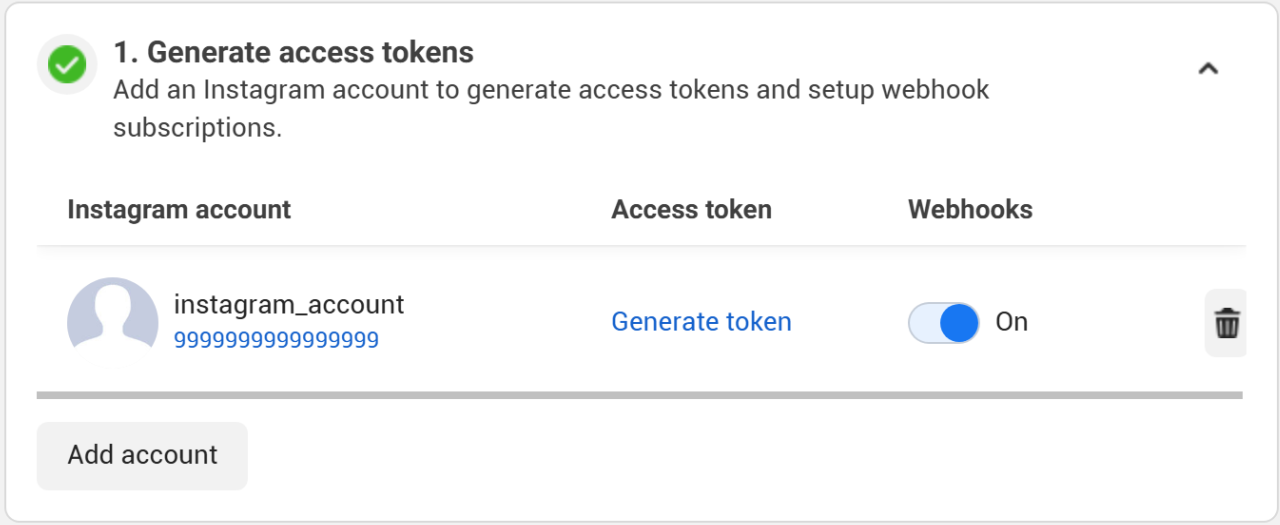
In the app dashboard, go to Instagram > API Setup with Instagram Login, find Generate Access Tokens and click Generate Token.
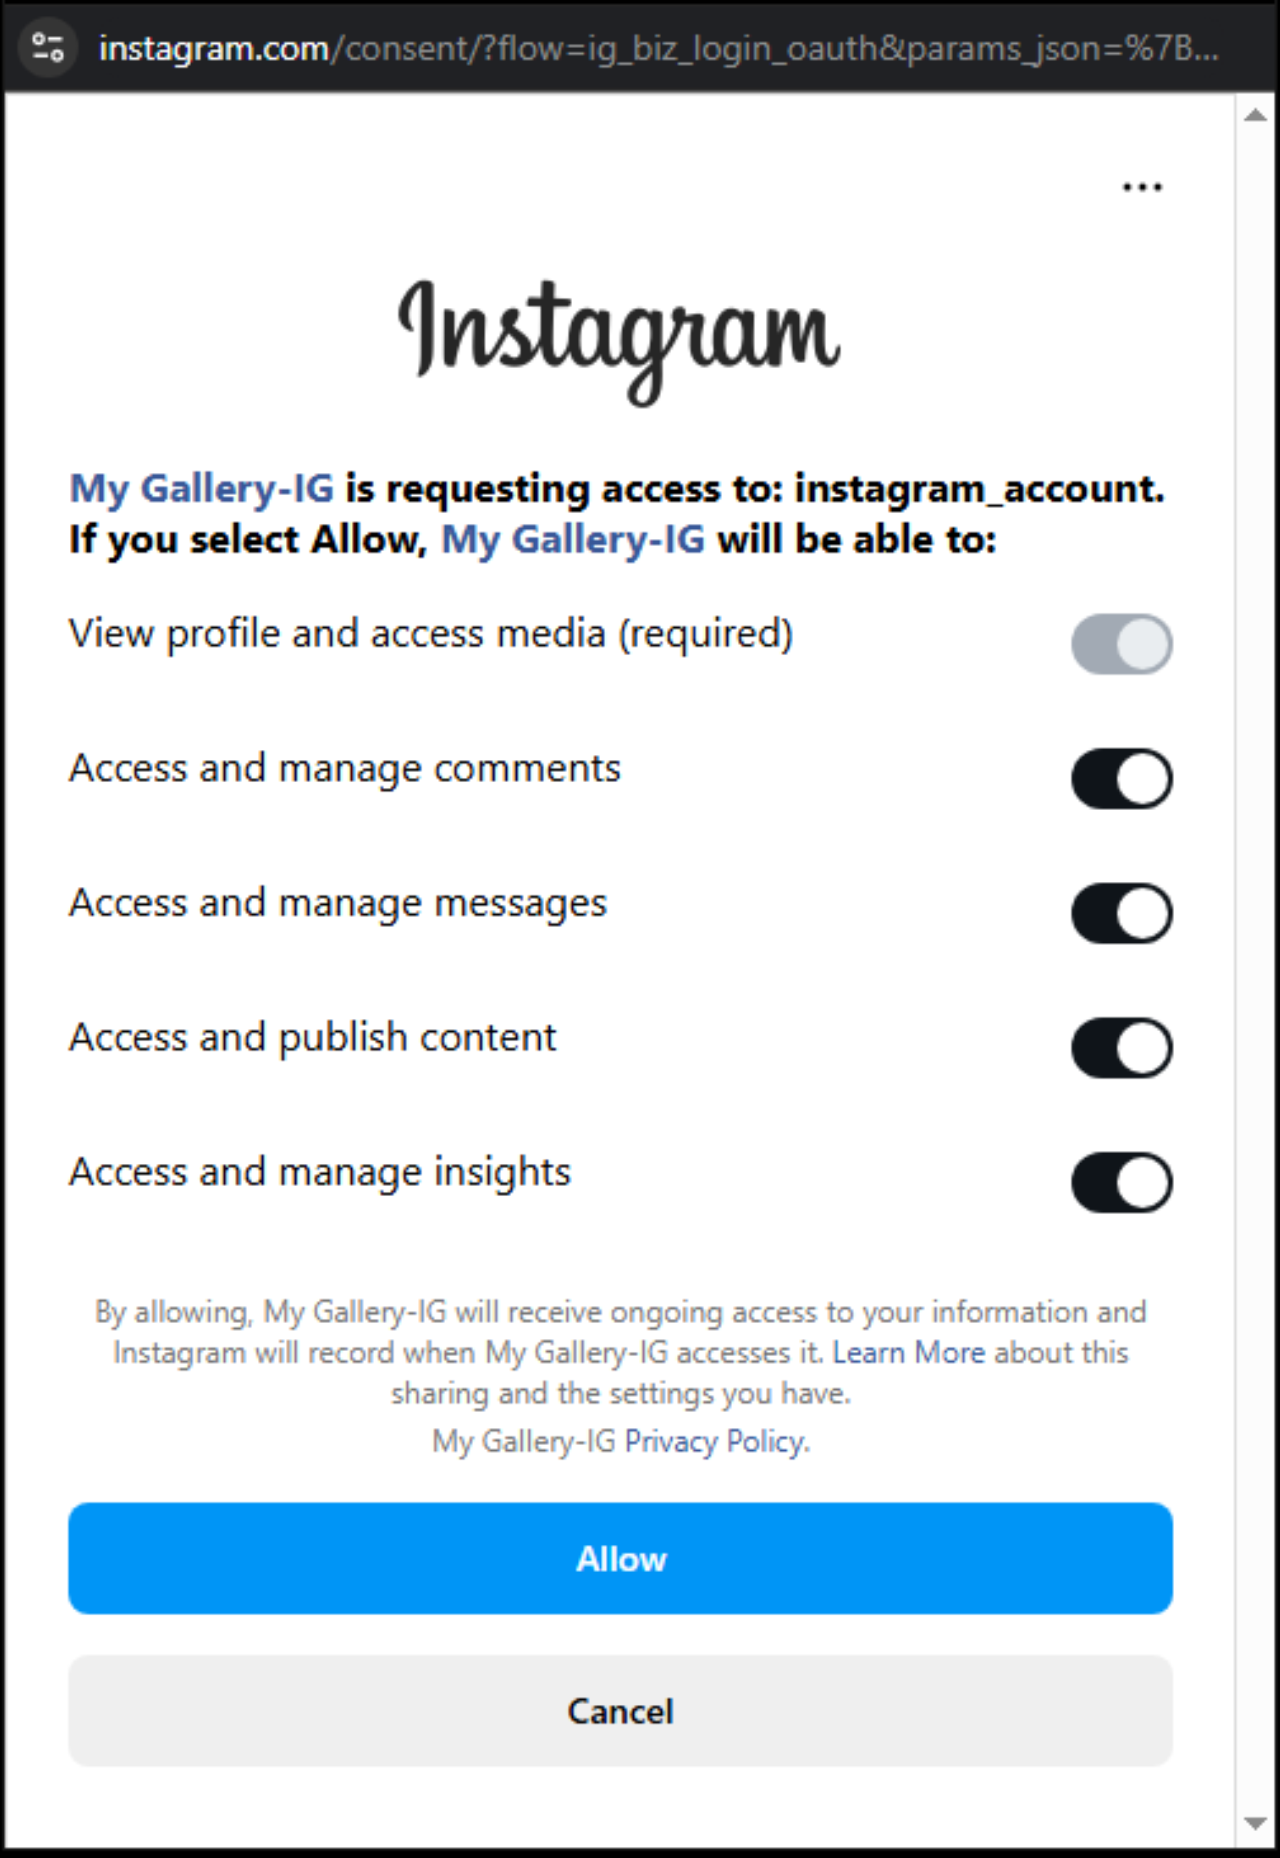
Access to the account will be requested. After logging in, click Allow.
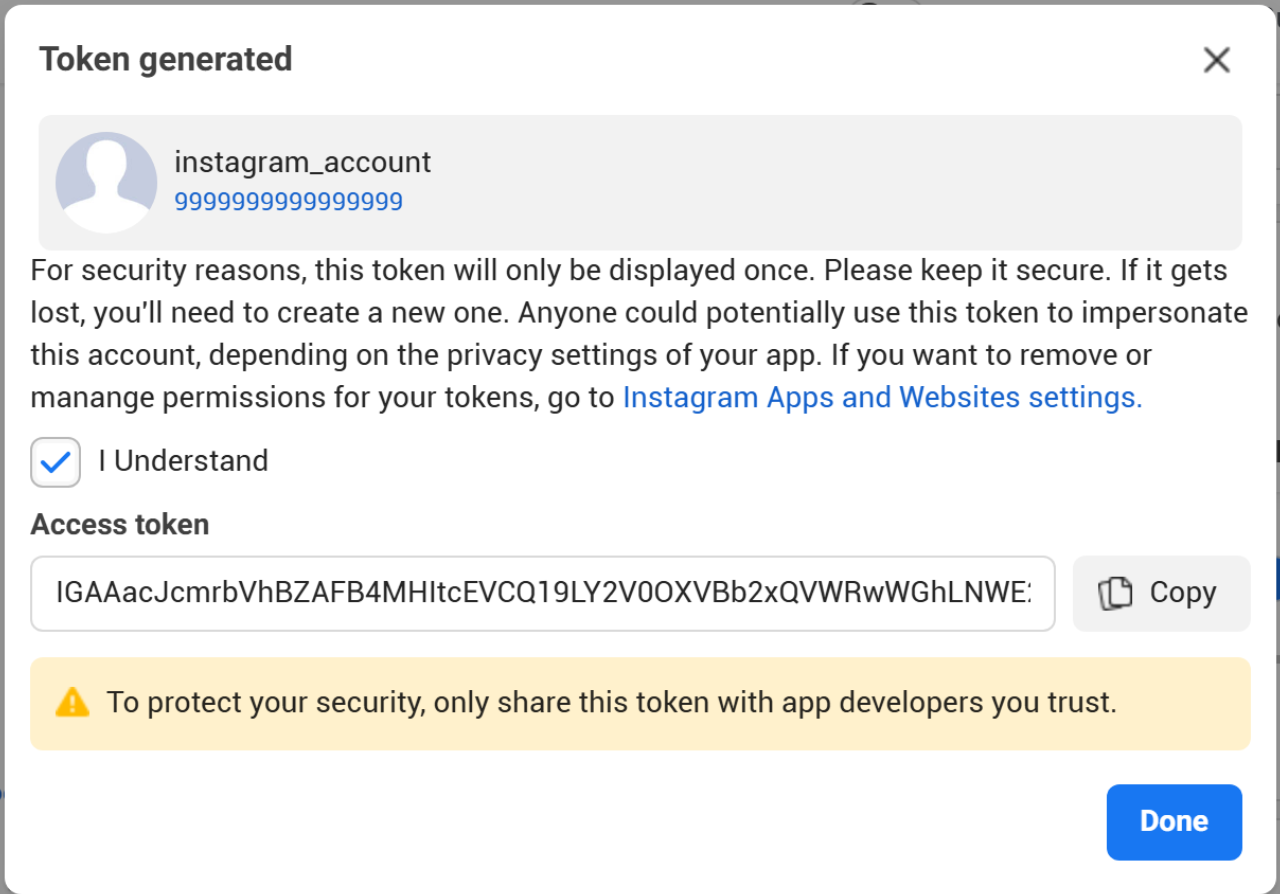
Check I Understand and click Copy.
In the module settings, under Integration, paste the token and click Save. Refresh the page or access the settings again and check the Status of the integration.
